

If your extractor doesn’t seem to be performing as it should, don’t panic. There are a number of straightforward things you can check before assuming there is a fault with the extractor itself.
The best approach is to work through the following checks logically, starting with the simplest things first.
Is the extractor actually switched on correctly?
It sounds obvious, but it’s always worth checking the basics first.
Make sure the extractor is switched on and that any relevant fuse, isolation switch or power supply is turned on.
And yes, we’ve seen some unusual things over the years – including tins of beans being pushed up against isolation switches and accidentally switching them off! If your extractor has a separate isolation switch, check that this is in the ON position and that nothing has been placed in front of it or knocked against it.
If the extractor has no signs of life whatsoever – no lights, display, sounds or other indication that it is receiving power – this is an important clue and should be noted.
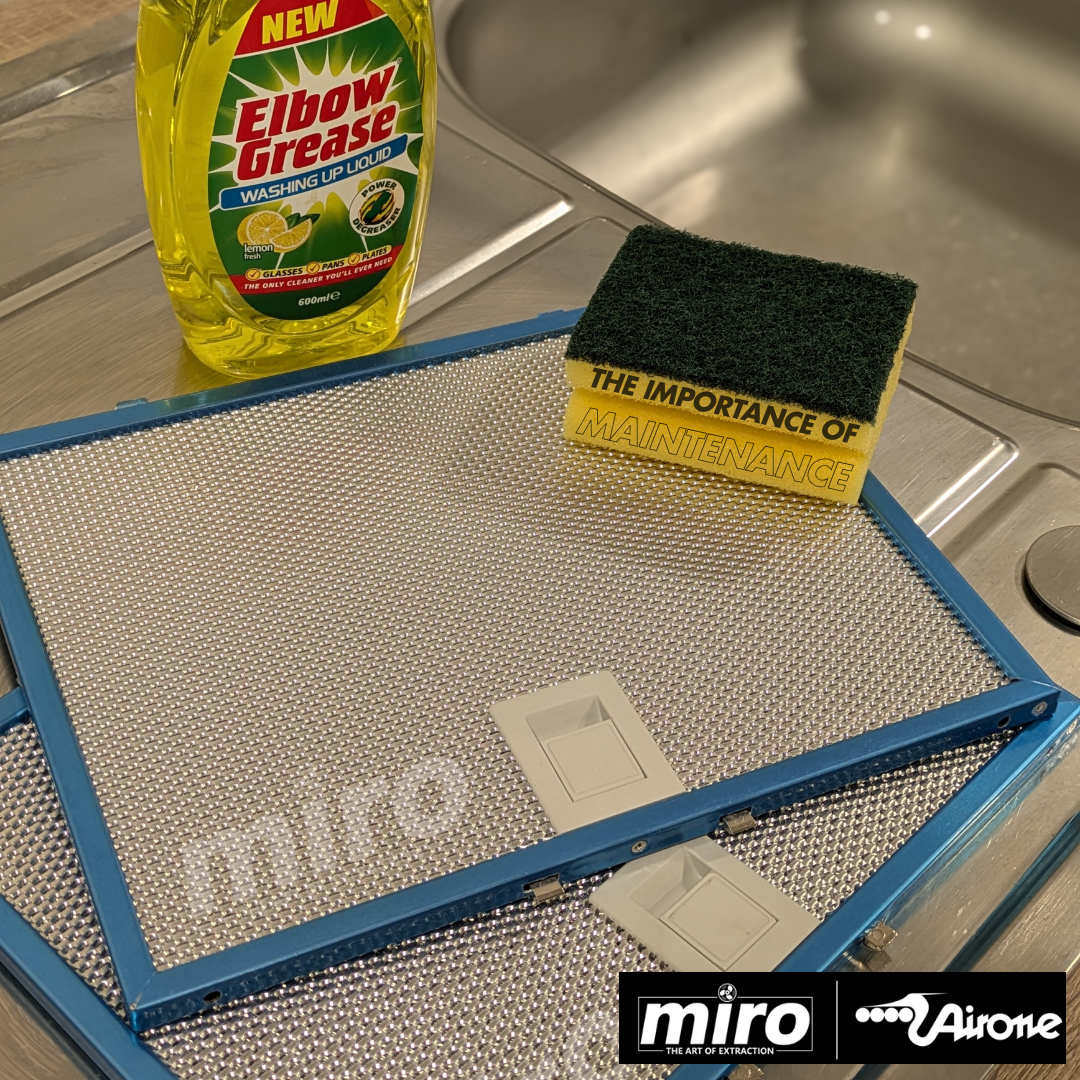
Are the filters clean?
A dirty or blocked filter can significantly restrict airflow.
Over time, grease, dust and other particles can build up on the filters. When this happens, the extractor has to work harder to move air, and you may notice reduced extraction performance.
Remove and inspect the filters according to the manufacturer’s instructions. If they are visibly dirty or clogged, clean or replace them as appropriate.
We’ve put together a separate guide explaining how to maintain and clean your hood and filters here:
MIRO SUPPORT | The importance of maintenance! – Miro Products | Premium Extractor Hoods
Once the filters have been cleaned, run the extractor again and see whether the airflow has improved.
Is your ducting the correct size and has it been fitted correctly?
The ducting connected to your extractor has a major impact on its performance. Our extractors should be connected using the correct duct size:
- 150mm circular ducting, or
- 220 x 90mm rectangular ducting
Check that the ducting is the correct diameter throughout its route and that it has been installed correctly – including making sure that it hasn’t become detached at any point. We find sometimes they are secured into place with tape, which often comes away over time.
Using ducting that is too small creates additional resistance, meaning the extractor has to work harder to move the same amount of air.
Also check for obvious restrictions, poorly fitted connections or sections where the ducting has become damaged.
It is also worth noting; check the whole route for any reductions as minimising the diameter at any point in the installation will restrict airflow and can have a significant impact on performance.
Our specified duct diameter is there for a reason. The extractor has been designed and tested around the correct duct size.
Reducing the diameter of ducting used invalidates your warranty cover.
A link specifically about the importance of using the correct ducting can be found here:
Why ducting is so important – Miro Products | Premium Extractor Hoods
Are you using flexible ducting? Check these points…
Flexible ducting can be useful in certain installations, but it needs to be installed correctly. Check whether any flexible ducting is:
- Crushed or flattened
- Tightly concertinaed
- Sagging
- Kinked
- Excessively twisted
- Longer than necessary
Flexible ducting should be kept as straight and open as possible. When it is compressed or tightly folded, the internal airflow path becomes restricted and resistance increases.
In simple terms: the easier you make it for the air to get out, the better your extractor can perform.
How long is the duct run?
In general, your duct run should be as short as reasonably possible.
Every metre of ducting creates resistance to airflow. The longer the route from the extractor to the outside, the harder it becomes for the extractor to move air effectively. When looking at the installation, consider whether the ducting has taken an unnecessarily long route to reach the external outlet.
A short, direct route is preferable to a long and complicated one.
If you’re planning a new installation, it’s worth considering the duct route before the extractor is fitted. A few minutes spent planning the route can make a significant difference to the finished performance.
Bends and angles in the ducting run?
Bends and changes in direction can also reduce airflow. Where possible, keep the duct route as straight as you can and minimise the number of bends.
A duct run with several bends is much more restrictive than a short, straight run. Take a look at the route from the extractor to the external outlet and count how many times the ducting changes direction.
The general rule is simple: fewer bends = less resistance = better airflow.

Check the external vent point
The external outlet can sometimes be the source of the problem, particularly if it has become blocked or restricted.
Check for:
- Leaves or other debris
- Dirt or dust build-up
- Insect nests
- Physical obstructions
- Damaged or stuck external flaps
- Anything else preventing air from leaving the duct freely
Make sure the external outlet is clear and able to open and allow air to escape.
Is the extractor installed and positioned correctly?
Check that the extractor has been installed in accordance with the manufacturer’s installation guidelines. Correct positioning can be important for both performance and safe operation.
Things to consider include:
- Is the extractor installed at the correct height?
- Is it positioned centrally over the cooking area where required?
- Is there anything obstructing the intake?
- Has it been installed in accordance with the specified clearances?
- Has the ducting been connected correctly?
- Are all connections secure?
If you’re unsure, refer back to the installation instructions supplied with your extractor.
If the extractor has recently been installed or moved and the problem has been present from day one, the installation itself should be one of the first things to investigate.
What happens when you power the extractor on?
One of the most useful things you can tell us is what happens when you switch the extractor on.
Does it:
- Work normally, but with poor extraction?
- Make a noise but move very little air?
- Make an unusual noise?
- Turn on but then stop?
- Show lights or a display but not extract?
- Have absolutely no signs of life?
- Make a beeping sound or show an error?
This information can help us narrow down where the problem may be. For example, an extractor that is powered up and running but has poor airflow points us towards things such as filters, ducting, bends, restrictions and the external outlet.
An extractor with no signs of life at all points us towards a different set of possible causes, such as the power supply or electrical installation.
Still having problems with your product?
If you’ve worked through the checks above and your extractor still isn’t performing as expected, don’t worry. The more information you can provide, the easier it is for us to help diagnose the problem.
When contacting our support team, it is useful to have the following information available:
- Your extractor model and serial number
- When the extractor was installed
- Whether the problem has always been present or has developed over time
- What happens when the extractor is switched on
- Whether the lights, display or controls are working
- Whether you can hear the motor running
- The type and size of ducting being used
- An approximate length of the duct run
- The number of bends in the ducting
- Whether flexible ducting has been used
- Any other changes you’ve noticed
Also, photographs of the product, serial number, how the product is installed and if possible the ducting route our motor outlet are extremely helpful.
…and remember…
Good extraction isn’t just about the extractor itself – the installation has a huge impact on performance.
Correct duct diameter, a short and direct duct run, minimal bends, clean filters and an unrestricted external outlet all help your extractor work as it was designed to.
Work through the checks above one at a time, and you’ll often be able to identify the cause of poor extraction without needing to replace the extractor itself.